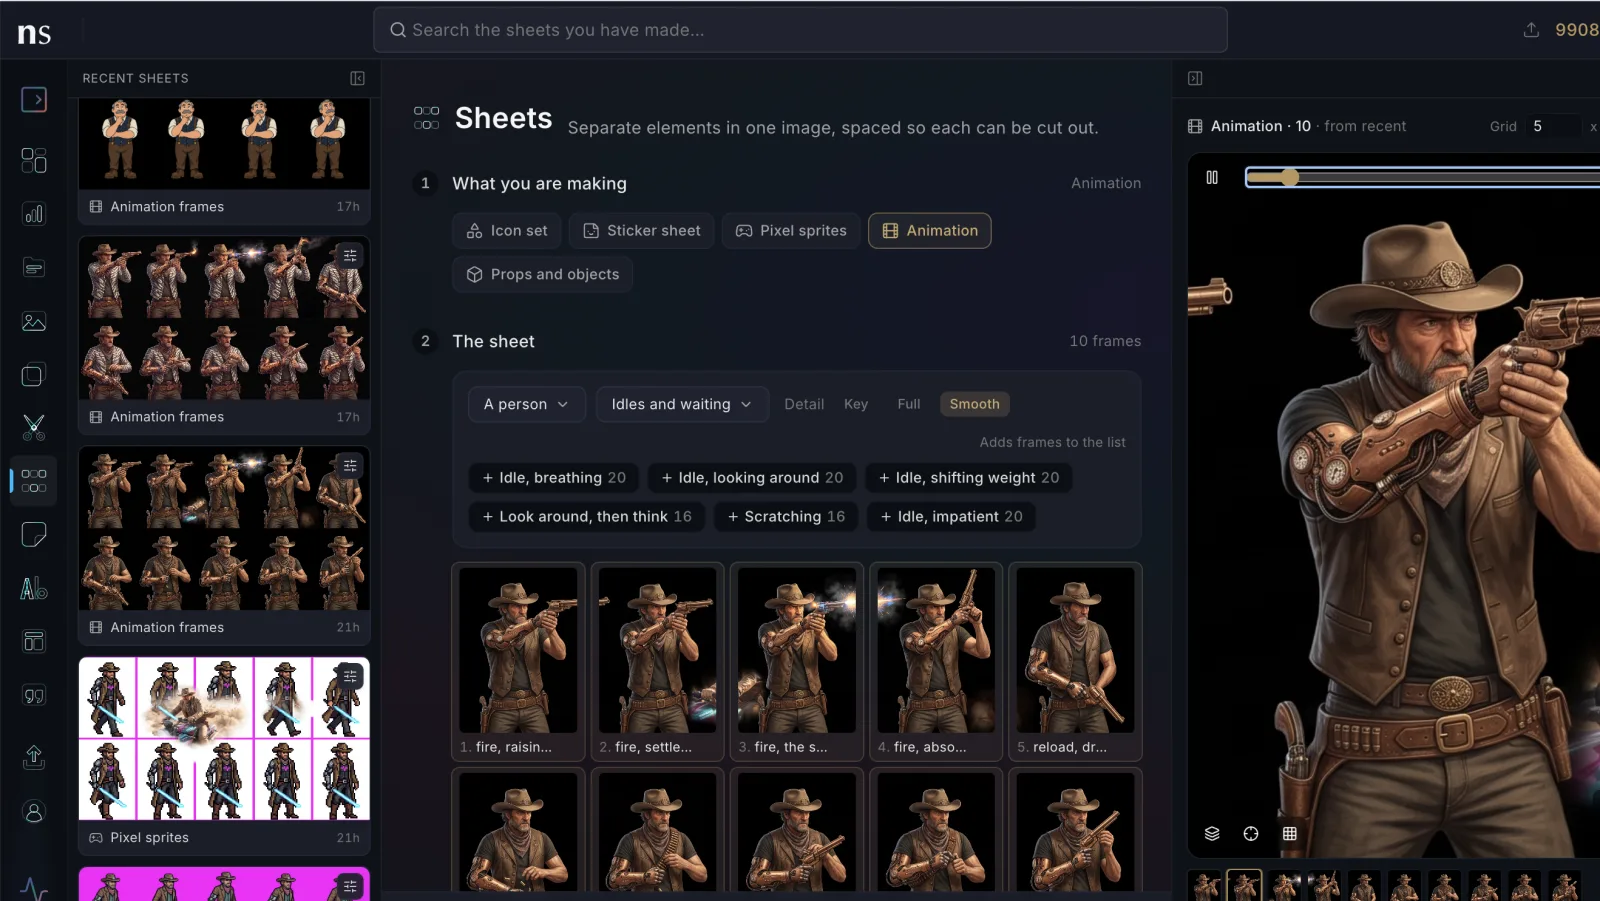
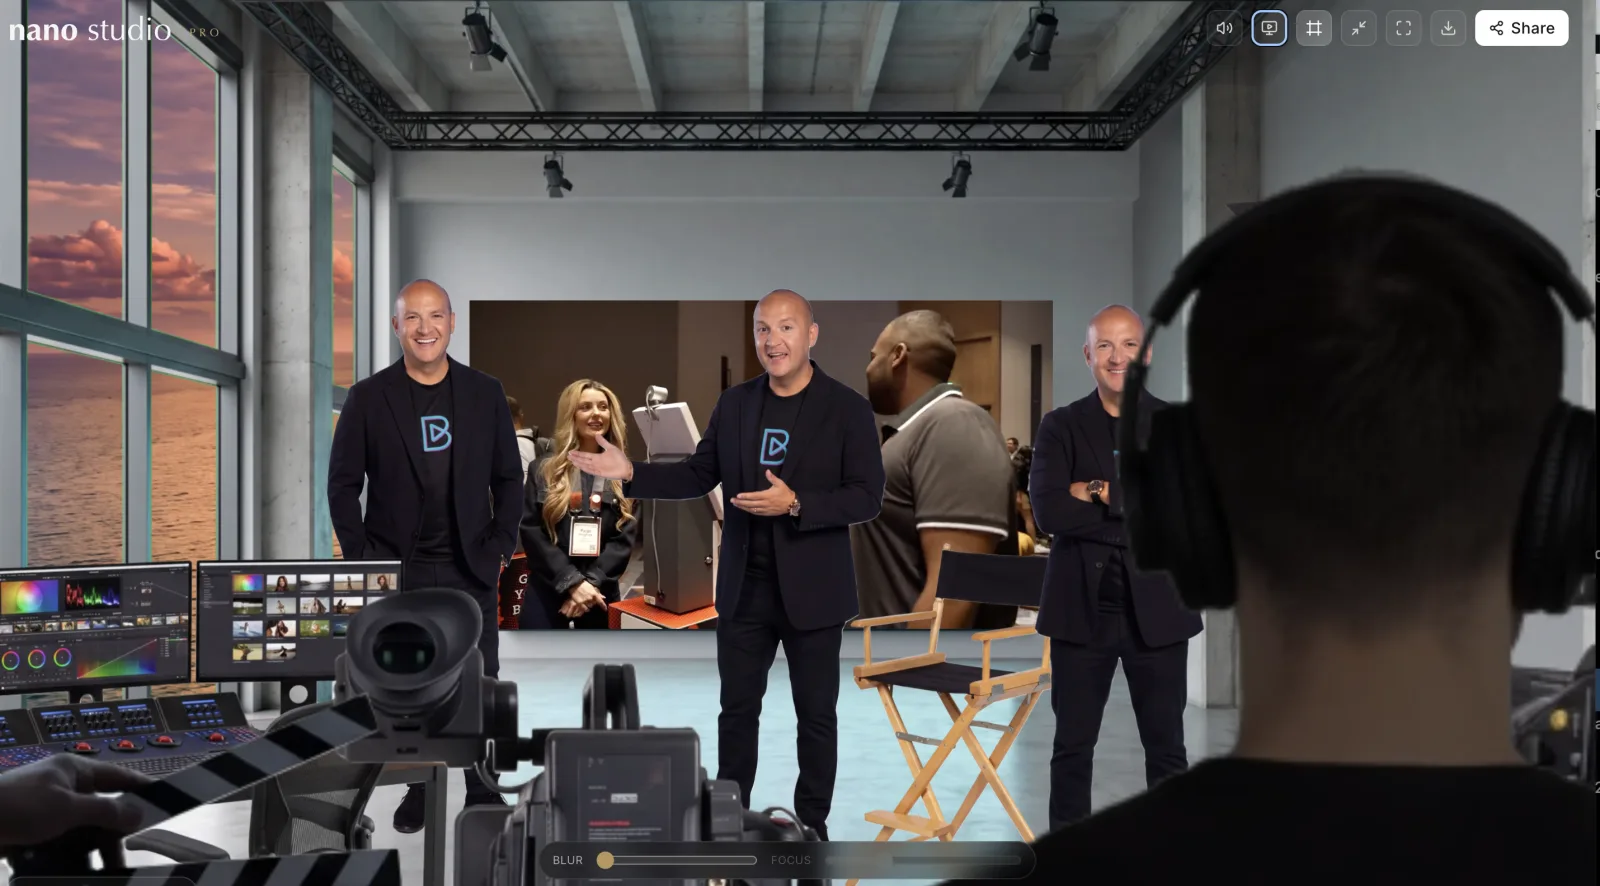
Pick a product from your Shopify catalog. Pick the photo you want it to appear in. That is the whole instruction — the product lands in the scene, lit and angled for it, and the shot comes back carrying the product's SKU.
Two clicks is not a figure of speech, and it is worth saying why it is possible: there is no prompt. Every other tool hands you a text box and asks you to describe the product you already sell. When the studio has the product's own photographs and knows which one you mean, describing it only gets in the way. You can add instructions when you want something particular, and most of the time you will not.
Nano Studio Pro connects to Shopify, which is what puts your catalog in reach of that gesture.
What connecting actually does
You approve the app from your Shopify admin, the normal way. After that the product column shows your shop's whole shelf, with everything marked as not yet imported — drafts included, behind a toggle, because a product you are still preparing is exactly the one that needs pictures.
Nothing is copied until you ask. Importing a catalog nobody has used yet would pull thousands of images across for no reason, so each product has its own Import button and comes over when you want it.

The photo knows what it is
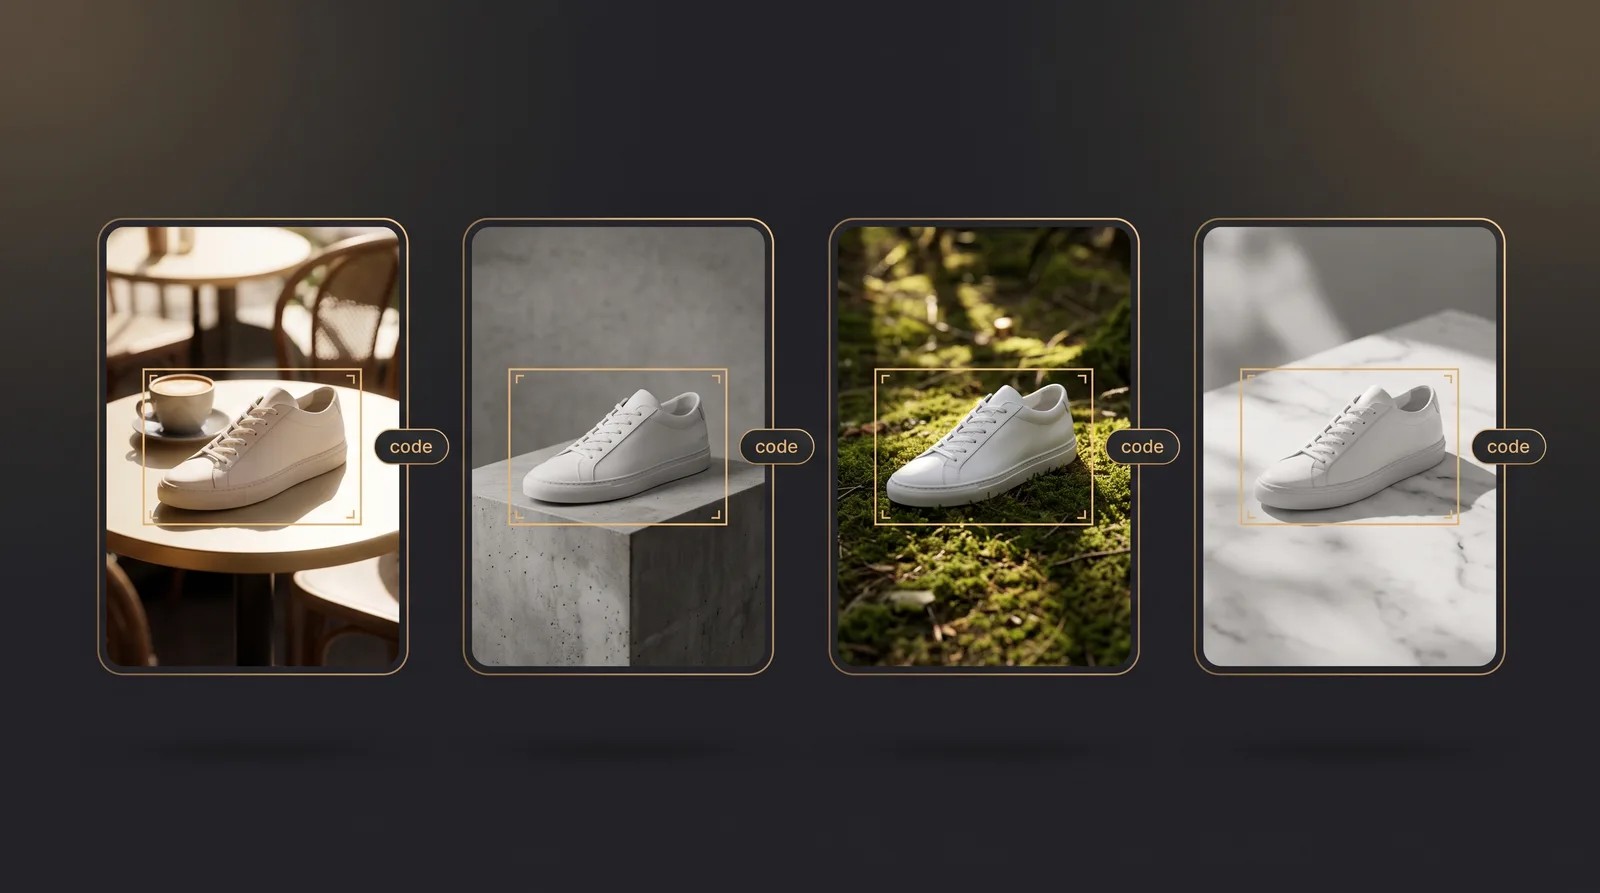
This is the part that is hard to see in a screenshot and is the reason the rest works. When you make an image from a product, the result is scanned and the product is matched to the exact item detected in the frame. Not the filename, not a folder: the box around the sneaker is the sneaker, and it carries the name, the SKU and the price.
So your library answers questions a folder cannot. Search a SKU and every photo featuring that product comes back. Open one and the product is marked inside the picture, with a link to its page in your store.
It also survives the work. Restyle the shot, change the background, re-light it, expand the frame, put it on a different model — the product identity travels into each new image. With one condition we insist on: every new photo is checked, with the product's own catalog picture as a reference, and a product the model cannot actually see in the result does not get tagged. A tag that lies is worse than no tag.
Charges land on your Shopify invoice
With a store connected, plans and credit packs are approved on Shopify's own screen and billed through Shopify, next to everything else you pay for there. No second card, no separate subscription to keep track of.
Two ways in
- From Shopify: install the app and a studio account is created from your store, already connected. Nothing else to fill in.
- From here: the sign-in page has a Shopify button. Type your store address, approve it in your admin, and you land in the same place.
Either door ends up identically: an account with your store attached, your catalog on the shelf, and your first photos a couple of clicks away. New accounts start with free credits, so you can see how fast it is before deciding anything.
Guides for Shopify stores are coming
We are starting a series written for merchants rather than for people who like image models: shooting a whole collection without a studio, what actually makes a product image convert, keeping a catalog visually consistent as it grows, and preparing images for the places people now shop. They will collect on the Shopify page as they publish.