On August 11 Higgsfield shipped Layers: upload a flat image, get back editable layers — subject, background, details. The pitch is "one canvas, zero masks," and the suite around it covers the jobs you would otherwise open Photoshop for — brush-to-edit inpainting, editing text inside an image, relighting, generative fill, upscaling.
It is a good launch, and it makes a point worth making: a photograph is more usefully thought of as a stack than as a rectangle. If that is the job you have — fix this picture — it is aimed straight at it.
But separation is a beginning, not an end. The moment an image is in pieces, a second question shows up, and it is the one that tends to go unanswered: now what? Layers by themselves are a tidier version of the same flat picture. What makes them worth having is what happens next — pushing them apart in space, pointing a camera at them, and handing the result to someone who can move around in it.
That second half is what Nano Studio Pro is built around, and it has been shipping for a long time. Here is what it looks like.
Splitting is automatic, and the resolution is not capped
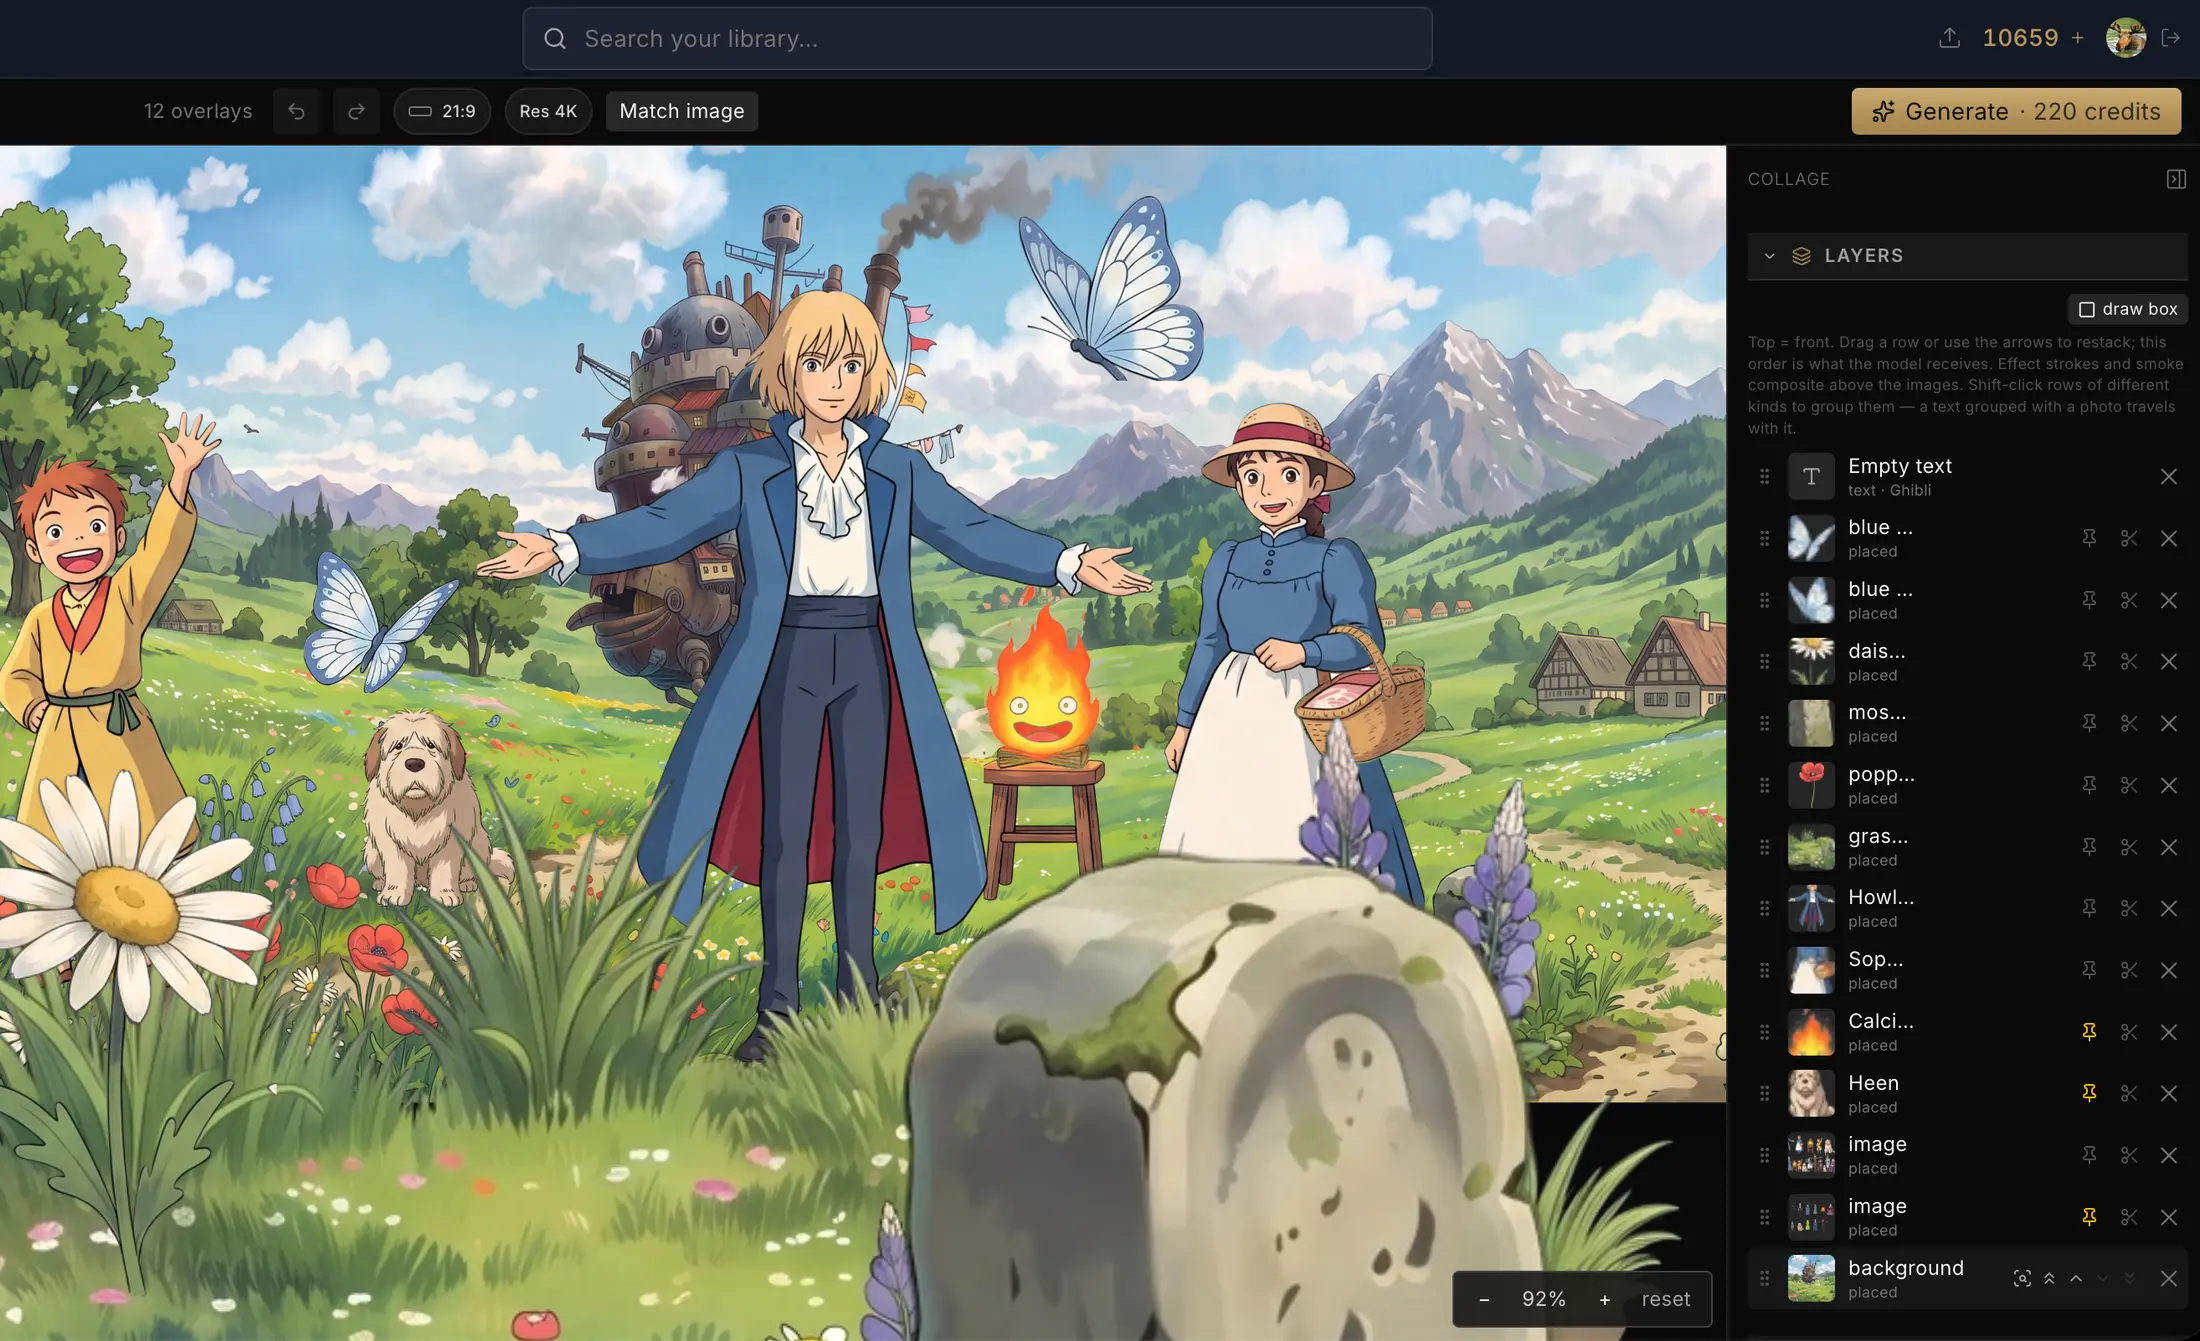
Open a photo, pick the objects you want — up to thirty — and the split runs on its own. Each one comes back as its own transparent element, and its original footprint travels with it, so it can land exactly where it started or go somewhere new.
Resolution is decided by the work rather than by a plan tier. The system measures how much room the selected objects actually need, renders the layer sheet at 2048 pixels on the long edge when that is enough, and moves up to 4096 when it is not. Underneath that sits a floor: every object is guaranteed at least a megapixel of its own. You do not pick a number, and you do not get quietly downsampled when the picture is busy.
Changing a layer without losing its transparency
Once the pieces exist, you will want to change one. Point at the elements you care about, describe the change in words, and the edit runs against the original frame with explicit instructions to leave everything where it is. The matte you already have is then reapplied to the result.
What comes back is still a transparent PNG — the same cutout, edited. That is the step that usually breaks. Most pipelines make you choose between editing the flat image and re-cutting it, which hands you a new matte with new edges and new problems, or editing the cutout directly and watching the model paint into the transparency. Reusing the matte you already trust avoids both.
Then you point a camera at it
This is where a stack of layers stops being a stack and becomes a scene.
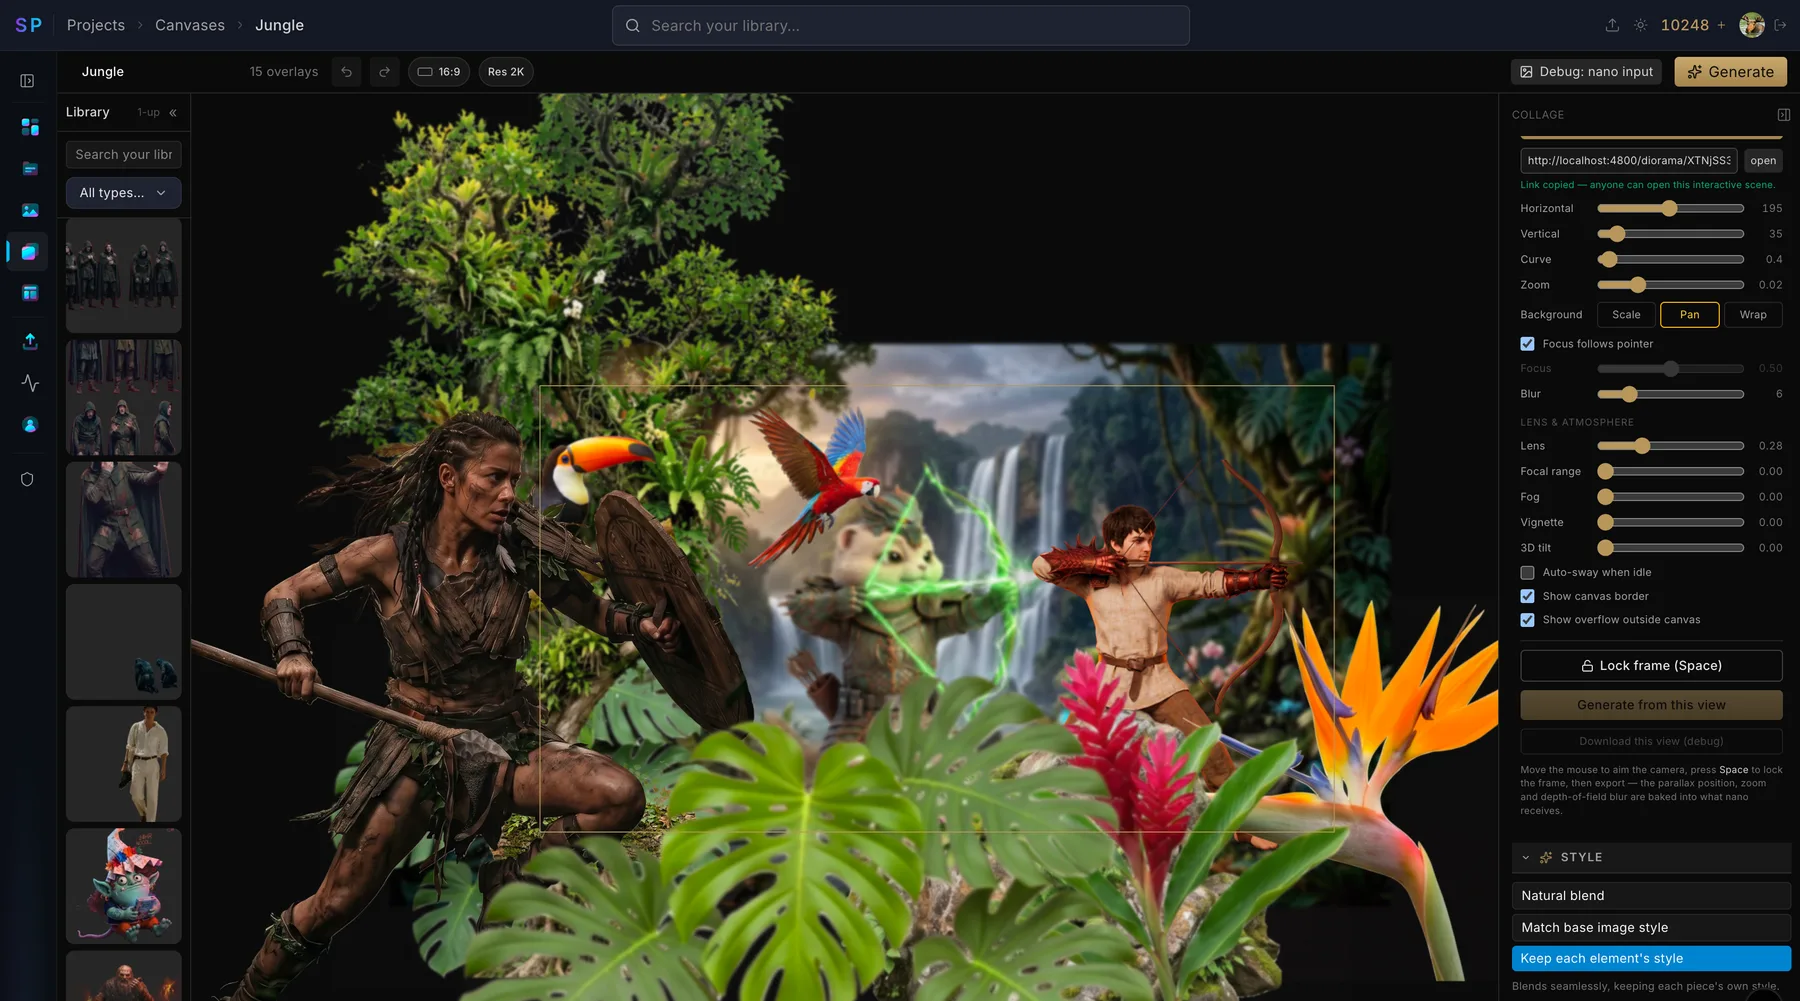
Focus follows your pointer. That is not a blur slider with a nicer name — the layer you point at stays sharp and everything else falls away by how far it sits from that plane, and you set how thick the sharp band around it is. Pointing at empty background pulls the whole frame sharp again.
The rest of the camera
- Parallax with an adjustable curve, so the depth reads gently or dramatically as the pointer moves.
- A dolly zoom that pushes into the scene, and a lens control that compresses depth the way a telephoto does.
- Fog with its own distance falloff, for genuine aerial perspective rather than a flat haze over everything.
- A lens vignette that darkens the frame edges.
- 3D tilt: the entire stack leans toward the pointer, so the layers read as separated planes instead of stickers.
And the scene is not limited to what came out of one photograph. Bring in more images from your library, cut more elements out of them, and keep building. The split is a way into the canvas, not the boundary of it.
The part you can actually hand to someone
When it is done, the scene exports as a link. Not a screenshot and not a video — a live scene the other person moves through with their own mouse, with the focus following their pointer the same way it followed yours. You choose a quality tier and how the scene assembles itself on arrival.
This is the piece that is hard to convey in writing, so it is better to just open one. There is an interactive scene running on the image editor page — drag across it and watch which layer sharpens.
Which one you want
These are not the same tool, and the honest answer depends on what is in front of you. If the job is to repair a photograph — remove something, change the words on a sign, relight a face, push it up in resolution — that is retouching, and Higgsfield Layers is built for exactly that.
If the job is to build something out of a photograph — to take it apart, move the pieces into depth, light the space between them, aim a camera, and send someone a scene they can move around in — that is a different tool. It is this one.