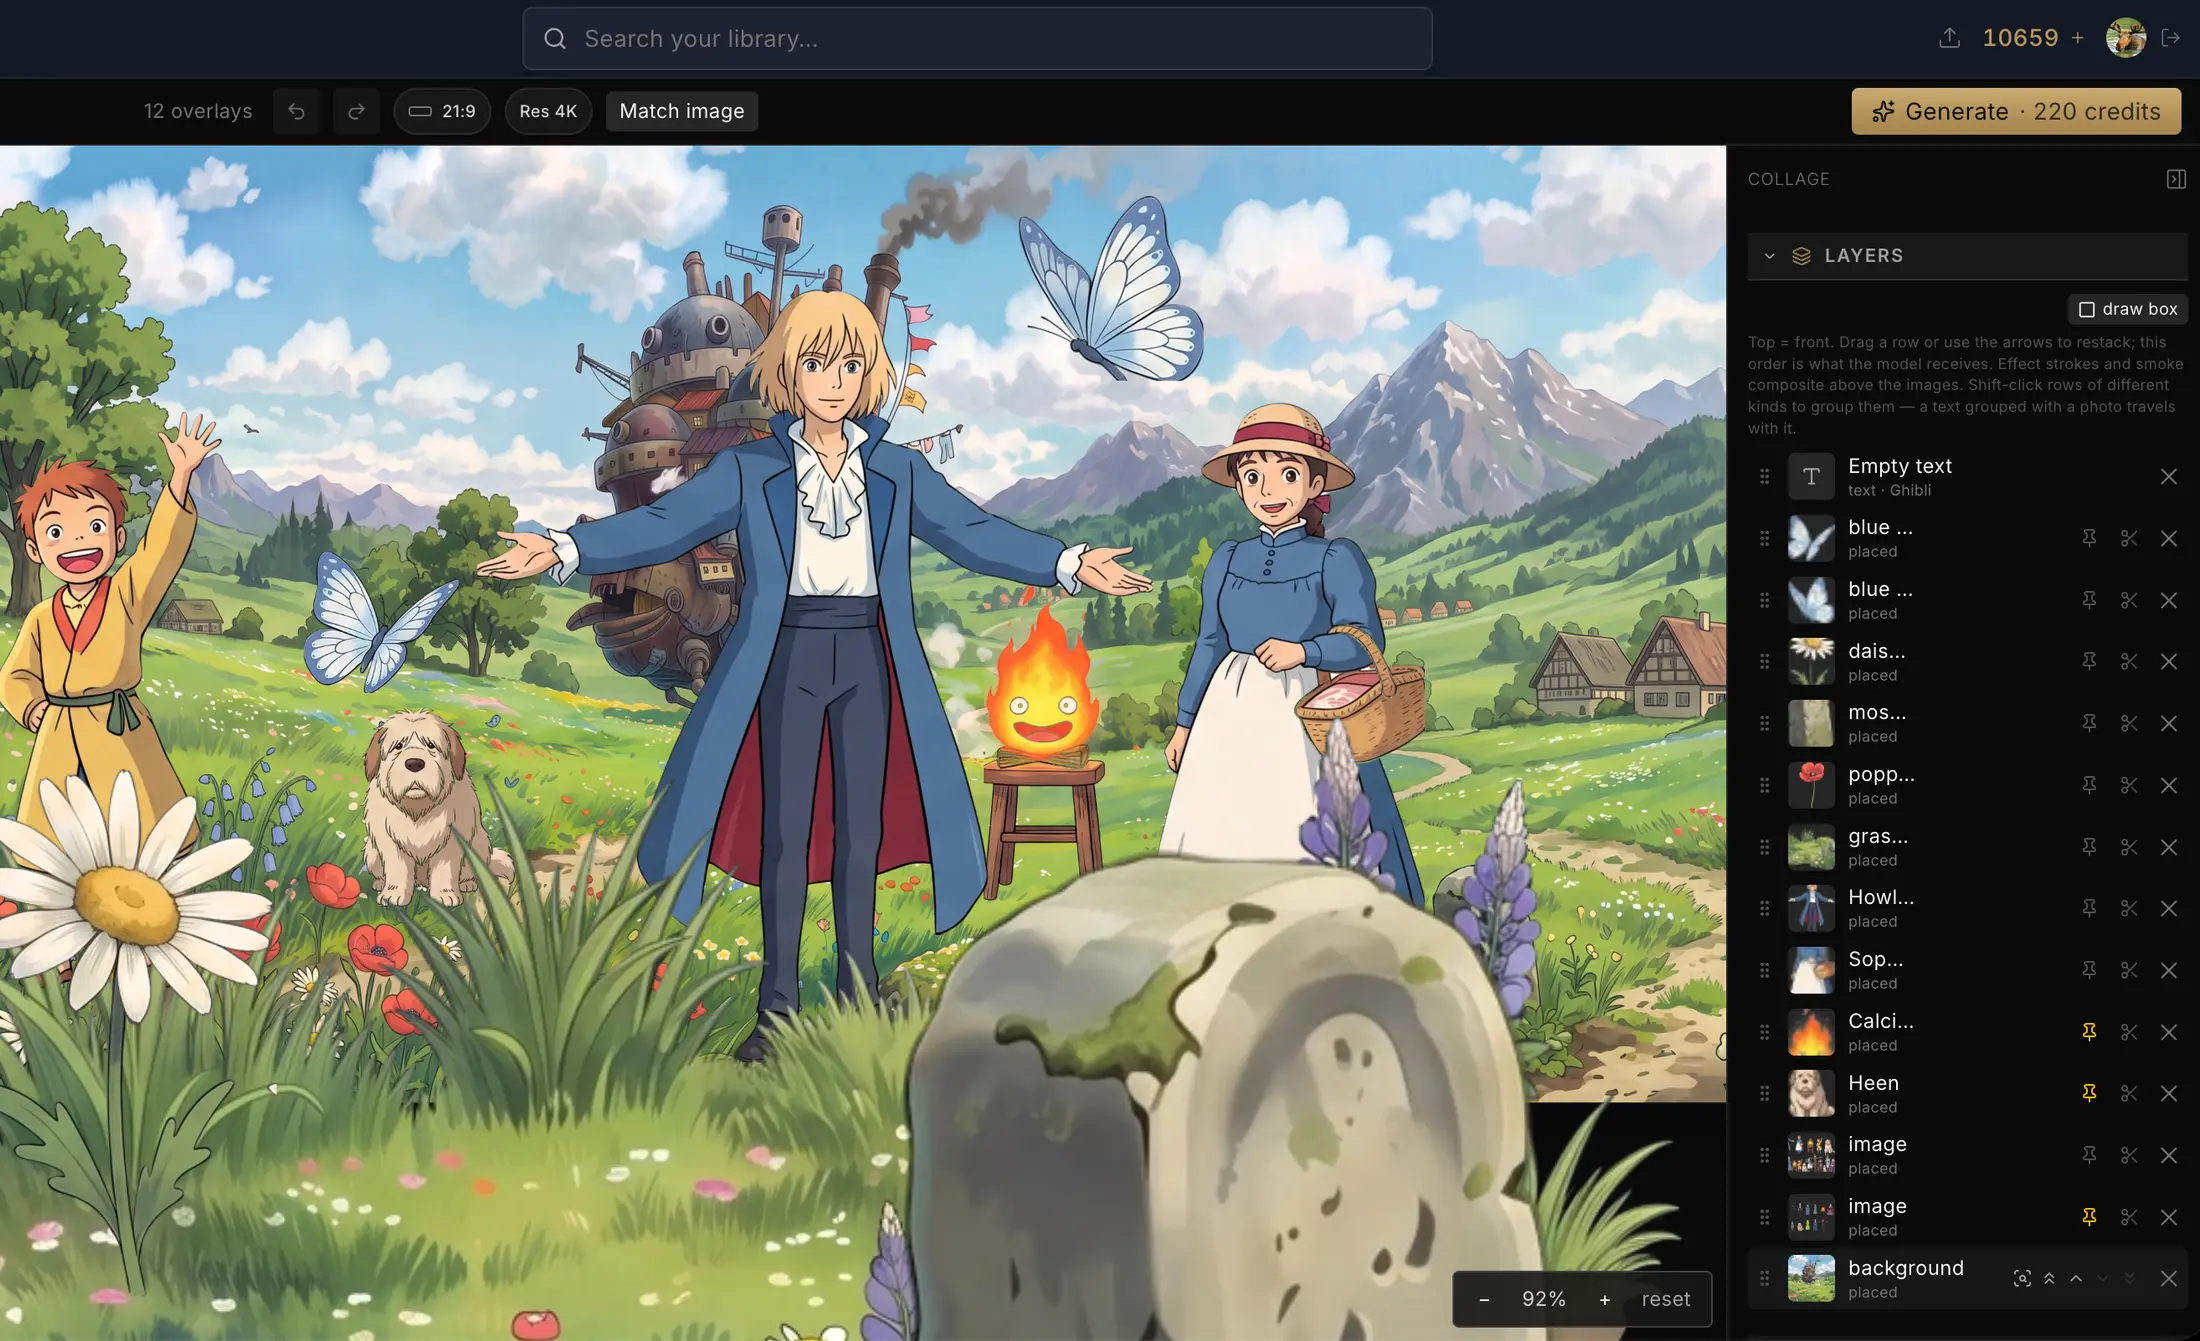
Removing a background sounds like one job, so most tools treat it like one: find the subject, delete everything else, hand back a PNG. That works on a product shot against seamless white and falls apart on anything real. The moment the subject has hair, motion blur, spray, smoke, or glass, a hard mask cuts straight through it and you get a sticker — crisp at the outline, wrong everywhere it should be soft.
One operation, three files
A cutout in Nano Studio Pro returns three things, because three different jobs come out of the same decision about what is subject and what is not. Here is the original frame:

The cutout itself — the subject on transparency, ready to drop onto anything:
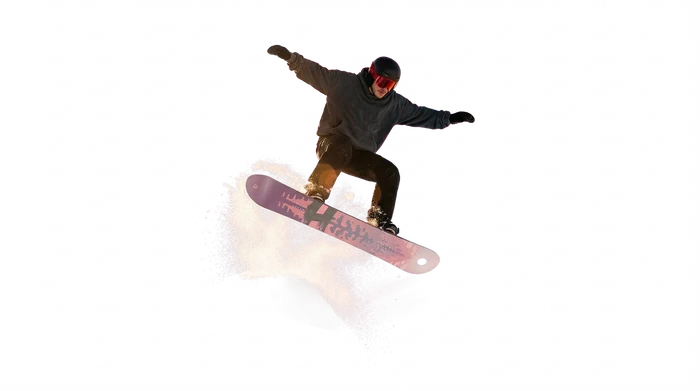
And the background plate, with the subject removed and what was behind them reconstructed:

The soft-edge test
If you are comparing background removers, stop using product shots to test them. Every tool passes that. Test the ones that are actually hard: someone with flyaway hair, a glass bottle with something visible through it, a dancer with motion blur on a limb, anything with smoke or water in the air. Those need partial transparency — a pixel that is 30% subject and 70% background — and a tool that only decides yes-or-no per pixel cannot represent it.
PNG, WebP, and which one you actually need
This trips people up more than it should. Both PNG and WebP carry an alpha channel, so both can hold a transparent background — WebP is not a downgrade, it is just smaller. JPEG cannot, which is why a cutout saved as a JPEG comes back with a white box around it.
Nano Studio Pro produces the cutout as a transparent PNG and serves lighter WebP copies for display. If your downstream tool is specific about wanting a PNG, take the full-resolution download rather than right-clicking the version on screen.
Three ways to make one
- In the app: open any image and use Cutout Studio. You get all three outputs, and edits stay attached to the original rather than spawning a second copy.
- From an AI agent: the MCP server exposes a cutout tool, so you can ask Claude Desktop or Claude Code to isolate a subject and it comes back with the transparent file and a matte.
- Over HTTP: POST to /v1/cutouts with a token. Same three outputs, and get_cutout returns fresh signed URLs later without re-running the operation.
The part people skip: finding it again
Cutouts multiply. You make one for a mockup, three more for variations, and a month later you need the good one back. Every cutout here is scanned like any other image — the objects in it, their colors and textures — so you can search for the snowboarder rather than remembering which folder and which of five near-identical filenames it was.